LiftMaster Garage Door Remote
Programming a LiftMaster garage door remote doesn’t have to be complex or challenging; with the proper steps and tools at hand you can set it up easily to enhance security at your property and optimize access control.
As either a homeowner looking to streamline daily routine or a property manager seeking operational efficiency gains, understanding your LiftMaster device’s functionality is of critical importance.
In this guide, we’ll walk you through the process of programming your remote control and how it gives an introduction to LiftMaster’s advanced features, troubleshooting tips and expert solutions.
Why LiftMaster Garage Door Remotes Stands Out?
LiftMaster has long been recognized as an innovator of garage and gate door opener technology, providing innovative products which combine convenience, safety, and dependability in one package.
LiftMaster devices have become the go-to choice of both residential and commercial properties alike for their innovative technologies such as MyQ connectivity, cloud-based access systems and robust safety features.
LiftMaster 8500W or 87504 models demonstrate its commitment to durability and top-tier performance.
LiftMaster remotes have been specially developed to optimize user experience and facilitate quick synchronization with garage door openers – this makes LiftMaster an exceptional brand in terms of both security and usability.
Related Article: Best Practices For Maintaining Automated Gates
Key Features of LiftMaster Garage Door Remotes

Before we discuss how to program LiftMaster garage door remotes and openers, let’s first review their key features that make them so effective – features which not only increase security but also offer an intuitive user experience:
LiftMaster MyQ Connectivity
With MyQ, it is now easier than ever before to monitor and remotely operate your garage door from wherever it may be located via the LiftMaster MyQ app on any mobile device – whether at work, home, or away on vacation – keeping complete control over it at hand at all times.
LiftMaster safety sensors
Are designed to safeguard both property and individuals by detecting obstructions to door movement in its path, then automatically reversing its direction if any become an impediment to passing traffic. They ensure your loved ones and property remain safe at all times.
LiftMaster Battery Backup
LiftMaster models feature battery backup features for smooth garage door operation even during power outages and ensure constant access to your garage at all times. This feature guarantees that regardless of any obstacles that might come your way, access remains available no matter what.
LiftMaster Cloud-Based Access Control
LiftMaster integrates seamlessly with cloud-based access control systems for advanced access control capabilities that make Ideal for use both residential and commercial. Property managers can utilize this feature to centrally manage multiple devices from a central platform for smooth operations and efficient management.
Related Article: Cloud-Based MyQ Solutions for Smart Home Security and Data Security Concerns
Programming Your LiftMaster Garage Door Remote
Programming a LiftMaster remote can be accomplished in only three steps. We will focus on programming a remote with a yellow Learn Button that is commonly found on many models of LiftMaster doors to make programming an easier process.
Step 1: Prepare Your Garage Door Opener
Before initiating programming of your garage door opener, ensure it is closed. Your opener’s light should function and flash to confirm successful programming – having this visual feedback during this step of programming is also key!
Step 2: Locate the Yellow Learn Button
The yellow Learn Button can usually be found near the antenna wire hanging from your garage door opener’s motor unit. Depending on its model, removing light lens covers might be required in order to gain access to this button; otherwise if its antenna wire matches, this means it has likely located it, saving both time and effort in its search process.
Step 3: Activate Programming Mode
To enter programming mode, press and release the yellow Learn Button until an LED light next to it illuminates, signaling that your system is ready to pair with your remote control system. This step is key as it tells it how to recognize and synchronize itself with its receiver remote device.
Step 4: Program Your Remote
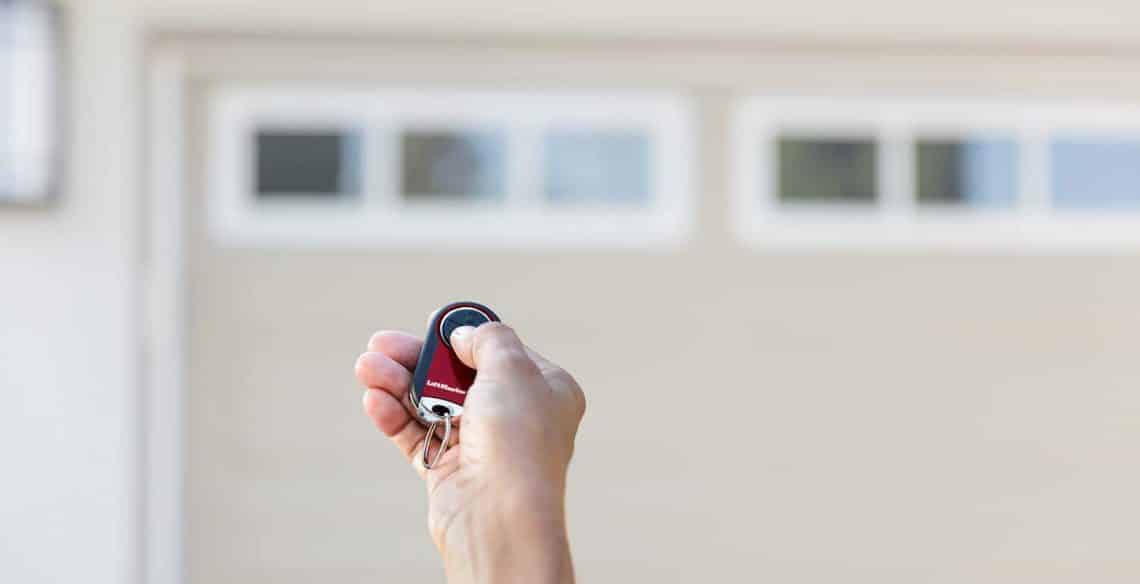
It is now time to program your LiftMaster remote. Press and hold any desired button until either the garage door opener light flashes, or there is a distinct clicking sound signaling that it has successfully synced up. This signifies a successful pairing.
Step 5: Test Your Remote
To check that everything has synced, press the button on your remote control to open or close your garage door and see whether the button corresponds with any opening/closing action from it. If all goes smoothly, programming has been completed successfully; otherwise repeat steps until everything syncs correctly.
Related Article: The Importance of Professional Gate Operator Installation
Programming LiftMaster Garage Door Remotes via Control Panels
LiftMaster openers feature built-in control panels which make programming much simpler. Each model offers different control panel models with various programming methods for quick setup of their garage door opener.
LiftMaster Smart Control Panel with LCD Screen
This smart panel with an LCD Screen makes navigating to the “Program” menu and selecting “Remote” easy; on-screen instructions guide the pairing process seamlessly for a smooth setup process.
LiftMaster Multi-Function Control Panel
Simply press the Learn Button twice on this panel to activate pairing mode, and follow its prompts for programming your remote control device.
LiftMaster Doorbell-Style Control Panel
This control panel makes programming your garage door opener quicker by pressing both light buttons at once to start programming it. By doing this, quick synchronization between garage door opener and control panel occurs.
Why LiftMaster Garage Door Remotes Photoelectric Sensors Matter?
LiftMaster garage door openers utilize photoelectric sensors for safe operation. Installed near the bottom of each track, these sensors prevent an obstruction from closing when closing occurs if any. Since 1993, all LiftMaster garage door openers require these photoelectric sensors in order to safeguard people and pets within its vicinity from accidents that might otherwise happen during operation.
If your LiftMaster system is outdated and doesn’t feature modern safety sensors, upgrading could help ensure compliance with current standards and keep your property secure. R3 Access offers LiftMaster-compatible systems equipped with state-of-the-art safety technologies so as to safeguard it for years.
LiftMaster Garage Door Remotes and Programming Challenges
Programming LiftMaster remotes is often straightforward; however, sometimes there can be unexpected complications which require troubleshooting tips to address them:
Incorrect Learn Button Activation
Make sure that when activating the Learn Button you press it with sufficient force so the LED light illuminates immediately upon pressing it; otherwise check that your opener is connected and operational.
Signal Interference
Electronic devices, like radios and microwaves can interfere with signal strength during programming of both an opener and remote controller. Make sure these items stay away from both when programming your opener.
Battery Issues/Buffer Causing Delay
If your remote won’t program, its battery may have died and needs replacing before trying the process again. Simply replace it and resume programming your remote!
Compatibility Issues
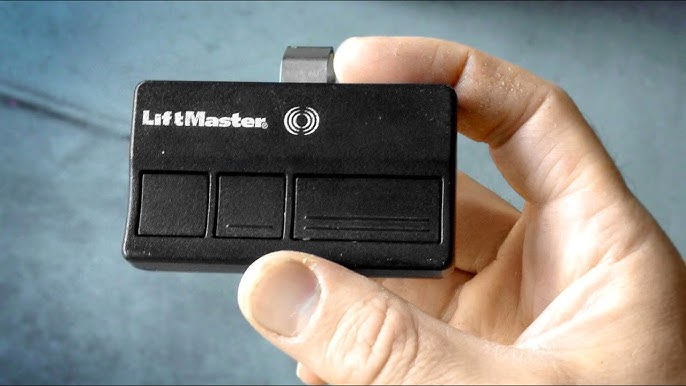
If your remote doesn’t appear to connect properly with the opener, double-check its compatibility. LiftMaster 891LM and 893LM remotes for example should work on models manufactured after 1993 by Chamberlain or Craftsman models; always double check specifications prior to purchasing new remotes.
Optimizing Your LiftMaster Garage Door Remote’s Access Control System
Just as programming your LiftMaster garage door remote is key to keeping you and your property secure and convenient, optimizing its access control system should also be prioritized to offer maximum security and convenience.
LiftMaster’s cloud-based systems integrate perfectly with automated gate operators for added control over your property – R3 Access’s experienced team specializes in installing these advanced solutions such as swing gate operators.
Swing Gate Operators
Secure your property with smooth and reliable gate opening systems.
Hydraulic Wedge Barriers
These barriers provide superior protection from unauthorized entry.
Sliding Gate Safety Solutions
Safely operate sliding gates using advanced safety systems designed for residential and commercial properties alike, including features like real-time monitoring and automated operations.
Related Article: Swing Vs. Slide Gate Operators
LiftMaster Garage Door Remotes for Commercial Applications
Businesses often utilize LiftMaster garage door openers and remotes as part of cloud-based access control systems; one popular model being CSW24UL which stands out for both reliability and efficiency.
Integrating LiftMaster products with cloud-based systems enables businesses to manage multiple doors and gates from a central platform, streamlining operations while improving access management.
LiftMaster solutions have the scalability necessary to meet the unique requirements of every commercial property – regardless of size or complexity.
Representing Leading Manufacturers
We at R3 Access work hand-in-hand with the most trusted names in access control and automation, delivering unmatched quality and state-of-the-art solutions.
With support from top manufacturers, R3 Access ensures reliable and innovative systems for homes and businesses alike.
Final Thoughts:
Programming a LiftMaster garage door remote is an essential task that adds both ease and protection to your property. Thanks to advanced features like MyQ connectivity, battery backup, and photoelectric sensors, LiftMaster ensures your garage door operates safely and effectively.
R3 Access’s integrated access control solutions give you access to everything from gate automation and hydraulic barriers, all the way up to full property management solutions for both homeowners and commercial properties alike.
If security and property management is top of mind for you, LiftMaster’s tools give you what you need for optimal protection – no matter if it is at home or your place of work. R3 Access Inc. can assist with programming, installation or advanced integrations – call now!
FAQs
What steps should I take to connect my garage remote and garage door opener?
For LiftMaster openers: Locate and press Learn Button then hold down remote button until garage responds – release when door responds properly
How can you reset a remote for my LiftMaster garage door opener?
Press and hold the Learn Button until the LED turns off to reset all settings previously programmed remotes allowing for further re-programing if necessary.
Where is the pairing button on a LiftMaster garage door opener?
The pairing or Learn Button is usually on the back panel near the light lens.
How Can You Program a LiftMaster Garage Door Opener Remote?
Press and Hold Learn Button until You See Click or Flash Signal
What does the LiftMaster MyQ do?
Using MyQ technology, you can control, monitor, and protect your garage door from anywhere via Android or Apple smartphone app.
Can LiftMaster devices integrate with cloud-based systems?
LiftMaster works seamlessly with cloud-based access control systems, making it a top choice for commercial and residential properties alike.


